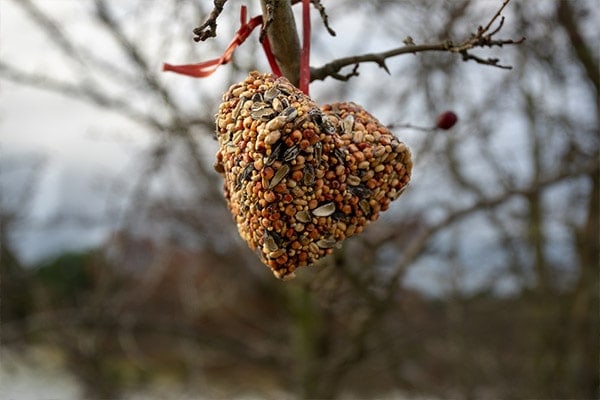
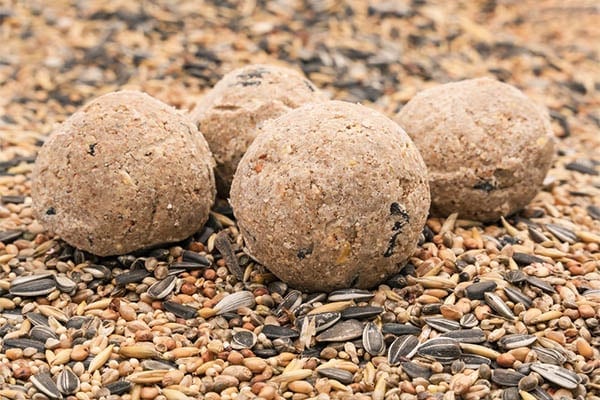
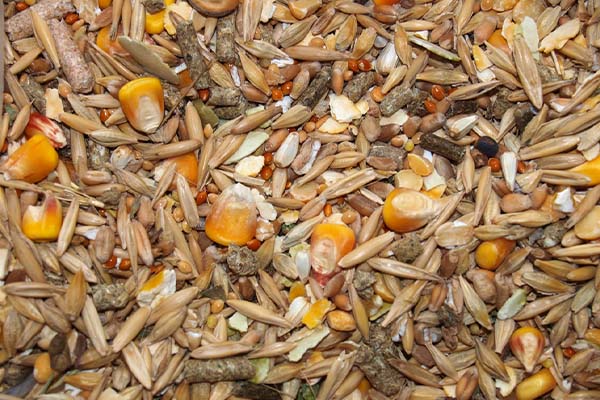
Have you ever wondered how some people have a knack for making beautiful bird seed ornaments? These amazing creations certainly caught my eye and grabbed my attention. I decided to learn how to make bird seed ornaments by searching far and wide online, and I’d like to share everything I learned with you today.
Combine 3 T corn syrup, ¾ cup flour, and ½ cup water in a bowl. Combine mixture with 4 cups of bird seed. Pour mixture on a wax lined cookie sheet. Press it into ½” or ¾” thick pancake. Press mixture with cookie cutters and dry for 8 hours. Remove ornaments from cutters, flip over and let dry until hard.
And that’s just the beginning…
I have plenty more bird seed ornaments instructions to share with you today.
You’ll learn how to fashion stunning creations that include:
- No bake bird seed ornaments
- DIY bird seed ornaments with gelatin
- Peanut butter and jelly bird seed ornaments
Are you ready to tackle these exciting DIY projects?
Let’s stop playing around then and get to work.
Related article: What Type Of Bird Seed Is The Best Bird Seed?
No Bake Bird Seed Ornaments: A Quick & Easy Recipe W/ Instructions

I wanted to recommend this recipe first because it’s undoubtedly the easiest to make. It only requires using two ingredients and following a few simple instructions.
The ingredients include:
- 1 cup of bird seed
- 2 tablespoons of coconut oil
The tools for the job include:
- Parchment paper
- Cookie cutters
- Baking sheet
- Straw or skewer
Pretty simple, right?
And now for the easy-to-follow instructions…
Step #1: Measure The Coconut Oil
First, you need to pour the 2 tablespoons of coconut oil into a bowl that you can use safely in a microwave.
Step #2: Operate Your Microwave
Place the bowl with the 2 tablespoons of oil in the microwave, enter 30 seconds on the microwave keypad, and press the start button. Let the oil cook for the full 30 seconds.
Step #3: Mix The Ingredients
After you’ve removed the bowl from the microwave, you should now pour the cup of bird seed into the oil mixture and thoroughly combine the ingredients.
Step #4: Fill The Cookie Cutters
Now: it’s time to place your cookie cutters on a baking sheet lined with parchment paper. Take the bird seed mixture and use it to fill the cookie cutters on the sheet.
Pro Tip: Grab your cookie cutters and spray them with oil on the inside to prevent sticking.
Take a straw or skewer and use it to poke a hole at the top of the cookie cutter ornaments.
Step #5: Put Them In The Refrigerator
Finally, take the baking tray and gently place it in your refrigerator. Periodically check the ornaments to make sure they harden.
And do not remove the cookie cutters until the ornaments are completely hard. It could take roughly 4-8 hours to stabilize, depending on the strength of your refrigerator.
And that’s all she wrote…
I don’t know about you, but I knew that I’d have no trouble following these instructions right away and I was definitely right!
Related Article: How To Make Bird Seed Cakes Without Gelatin
Kid Friendly Gelatin Infused Bird Seed Ornaments: A Fun Filled DIY Project At Home

This gelatin infused ornament recipe is tried-and-true but pretty easy to accomplish nonetheless. I think you’ll have no trouble successfully executing this recipe.
You’ve got this! I believe in you.
The necessary ingredients for this recipe include:
- ½ cup of water
- ¾ cup of all-purpose white flour
- 1 pack of gelatin (unflavored)
- 3 tablespoons of corn syrup
- 4 cups of bird seed
And the supplies that you’ll need for success include:
- Cutting board or cookie sheet
- 2 straws
- 1 mixing bowl
- 1 whisk or spoon
- Wax paper or parchment paper
- No stick cooking spray
- Assorted cookie cutters
- Scissors
- Twine
- Measuring cup set
Moving on to…
Step #1: Mix Your Ingredients
First, mix the white flour, corn syrup, gelatin, and water together in a mixing bowl. Mix them together using a whisk or a large spoon.
The batter will become stiff after it’s mixed carefully. Once you’ve achieved a thick consistency, you can mix the bird seed into the batter and knead it in by hand.
Pro Tip: Kids adore mixing the gooey batter! Let them help with this part of the process if they’re begging to get involved.
Step #2: Fill The Cookie Cutters With Bird Seed
Now, take your baking sheet or cutting board and cover it with wax or parchment paper, depending on what you’re using.
Spray the insides of the molds and the paper with no stick spray to prevent sticking.
Scoop a spoonful of mixture and thoroughly press it into the cookie cutters. Make sure you pack the mixture in tight. Take your spoon or hand and smooth out the top of the cookie-cutter.
Take one of the straws and cut it into 2-inch pieces. Grab a piece of straw and push it through a section of the ornament to create a hole. Keep the straw in the hole and make sure it’s held in tight by the bird seed mixture.
Step #3: Add String To Your Bird Seed Ornaments
Before adding string, you need to give your ornaments enough time to dry. So, leave them uncovered on the kitchen counter at room temperature.
It should take a few hours for the mixture to harden, or you can leave them overnight to play it safe.
Grab your twine and scissors and cut off a piece about 8 inches long. String the twine through the straw hole and tie the twine together with a strong knot to make a loop.
And now you’re finished.
You can hang these ornaments outside, on your Christmas tree, or anywhere else for that matter. Enjoy your amazing DIY project!
Peanut Butter & Jelly Bird Seed Ornaments: An Extra Special Recipe That Birds Will Love

If you know anything about birds, you know that they absolutely adore peanut butter. So, if your goal is to create a beautiful ornament and a tasty meal for your favorite wild birds, then you’ll definitely appreciate this recipe.
Believe it or not, it only requires four ingredients and a handful of cooking utensils that you likely already have at home.
How do I know? I had everything needed for this recipe except the bird seeds when I first gave these simple instructions a try!
The ingredients include:
- 2 packs of gelatin (unflavored)
- 3 to 5 cups of birdseed
- 3 tablespoons of all-natural peanut butter
- 1 cup of boiling water
And the required kitchen tools include:
- Spoons
- Baking tray
- Straws
- Twine or ribbons
- Measuring cups
- Mixing bowl (large)
- Wooden spoon or spatula
- Tinfoil
- Cookie cutters
Let’s get right into it…
Step #1: Prepare The Ingredients
First things first…
Boil the water and when you’re finished you should place it into a large mixing bowl.
From here, you are going to add two packs of gelatin and methodically stir them into the boiling water until they completely dissolve.
Next, add the peanut butter into the boiling water and gelatin mixture and stir it thoroughly until it fully dissolves.
Now: add the bird seed. Start out by adding 3 cups to the mixture and meticulously mix it in.
Pro Tip: If it feels too loose and gooey, feel free to add more bird seeds as needed.
Step #2: Line The Baking Tray
In this section, you’ll take your baking tray and cover it with tinfoil to begin.
From here, please place your favorite cookie cutters on the tinfoil covered baking tray so they’re ready to get filled up.
Next, take a spoon and dig into the bird seed mixture. Begin filling your cookie cutters to the top and make sure to pack the mixture in really tightly. The more mixture in the cookie mold, the better it will hold together.
Take your straw and use it to poke holes in the ornaments. You can either cut the straw and leave it inside the hole to have the ornament harden around it, or leave the hole empty. I’ll leave this up to you.
Step #3: Refrigerate The Cookie Cutters
At this stage, you should pick up the entire baking sheet with the cookie cutters on it and place them in your refrigerator.
I previously attempted to remove the bird seed ornaments and cookie cutters after refrigerating them for four hours and the results were less than successful. They hadn’t hardened enough at this point.
Instead, I recommend leaving the cookie-cutter-filled ornaments in the refrigerator overnight. This will provide more than enough time for them to properly stabilize.
Step #4: Threading The Twine Or Ribbon
Finally, you’ll take the twine or ribbon and thread it through the hole that you made with the straw.
Tie the ends together to create a loop that you can use to hang up the ornaments from a tree branch, bushes, or even your Christmas tree.
See how easy that was!
Related Article: What Do Wild Birds Like To Eat?
The Bottom Line On How To Make Bird Seed Ornaments
When you found your way here, I bet you thought it was going to be really difficult to make bird seed ornaments. I personally believed it would be impossible for me to make these things.
Thankfully I was 100% wrong!
At the end of the day, I’m happy to share my very simple to implement and favorite bird seed ornament recipes with you. If I can make these ornaments then I know anyone can pull this off.
Today, we learned how to make:
- No bake bird seed ornaments
- Kid friendly gelatin infused bird seed ornaments
- Peanut butter & jelly bird seed ornaments
Are you getting excited yet? Pick up the ingredients and dive into one or more of these recipes right away. You’ll feel amazing after you’ve succeeded in putting together these gorgeous creations!
The post Tried-And-True Directions For How To Make Bird Seed Ornaments appeared first on BirdInformer.com.
from BirdInformer.com https://ift.tt/31Ip7he

No comments:
Post a Comment